Woven by Grace: autumn
Image and video hosting by TinyPic
Showing posts with label autumn. Show all posts

Sunday, October 22, 2017

Weekend Adventures: Hartland Orchard

Though we have great plans for travel with our littles, but truth is we can't always fit in long trips right now. So I'm constantly taking hints from other moms and even local events I see on Facebook to find ways we can enjoy each other simply for the day.


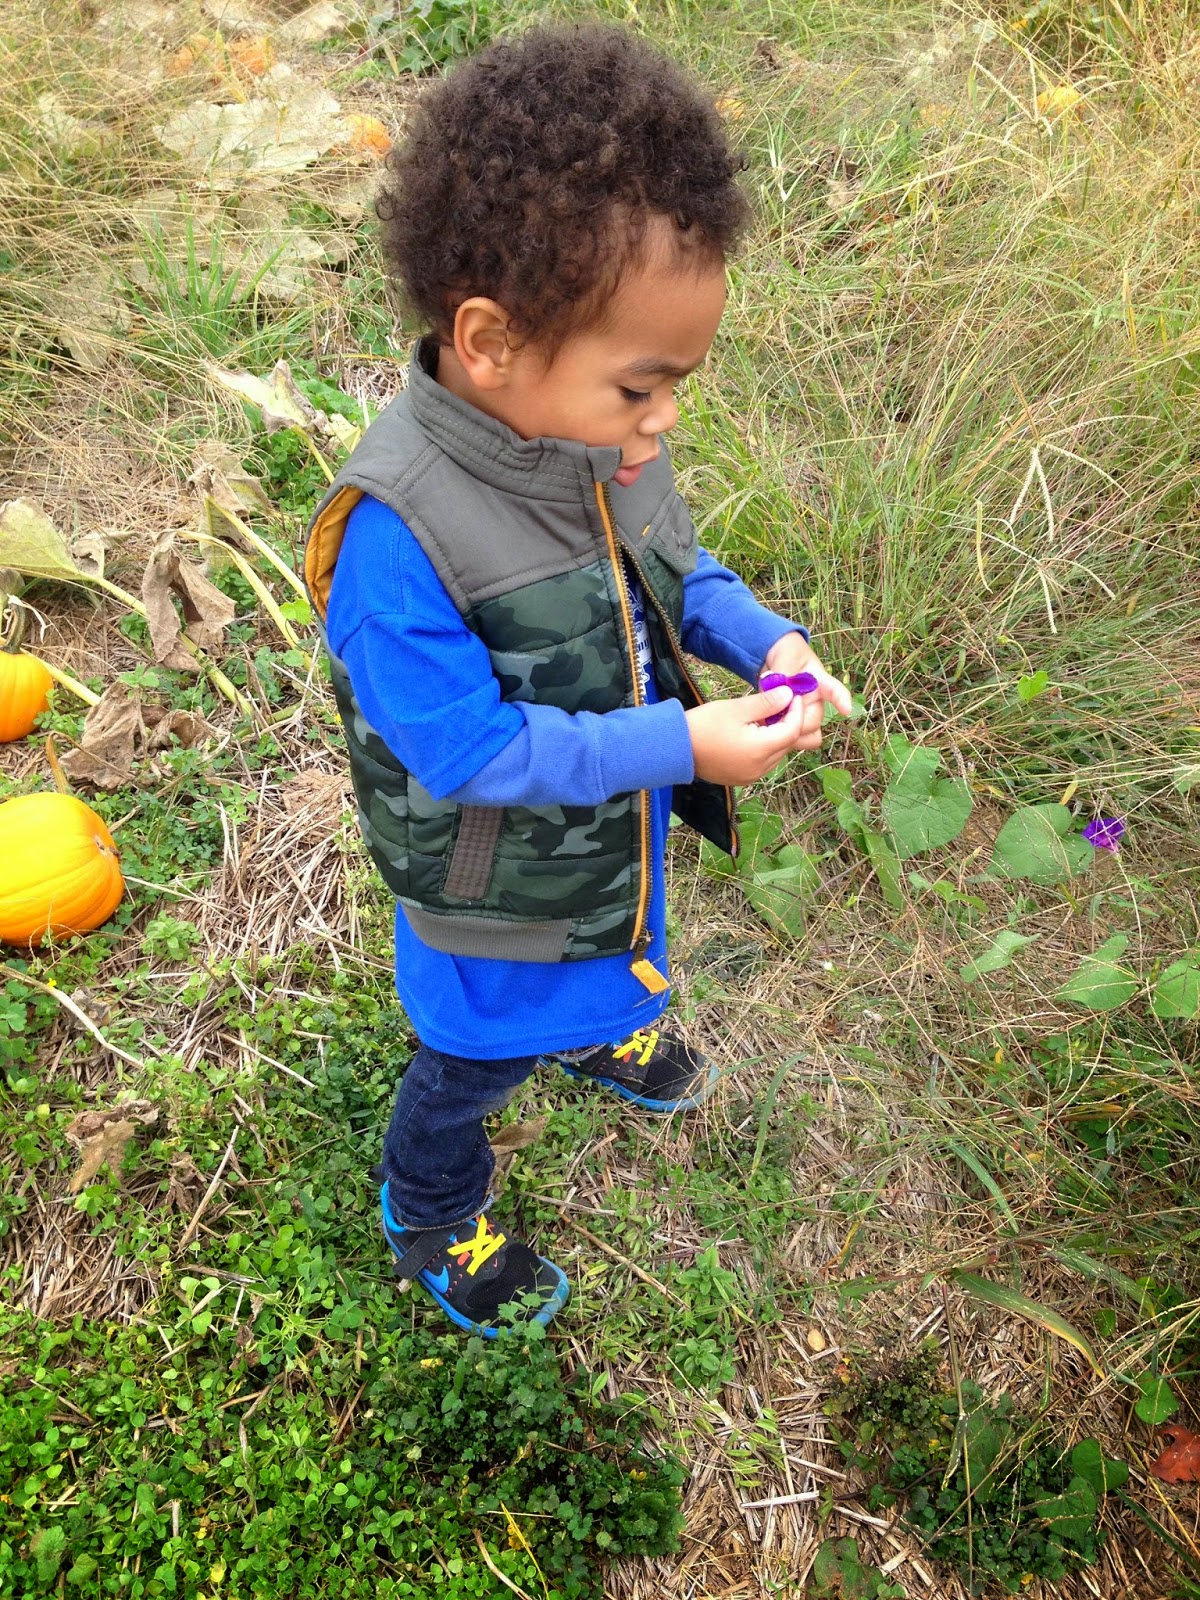
Here in Northern Virginia there are tons of great activities that are usually within about an hour away from our home. So this past weekend's adventure was at Hartland Orchard! Not only do they have a fantastic location for picking apples and other tasty fruits and veggies, they have a fun Pumpkin Festival that you can participate in. The boys had a blast and everyone crashed by the end of the day!

The cost per person was $10, but you were able to do a Corn Maze, tunnel slide, enjoy live music, try out the apple cannon, and several other fun activities. I would definitely recommend it as sometimes the other popular pumpkin patches in the surrounding areas can be overcrowded on the weekends and/or even more expensive. It just depends on what you want to do!


What are some of your favorite day trips to take with your kids? As the season changes and it gets cooler here, I want to take advantage of as much as we can! Hope you had a wonderful weekend.


Wednesday, October 18, 2017

In this Season: New Surprises & Family Moments


Though I took an unexpected break from blogging, it has definitely still been in the forefront of my mind. Being able to share and record life in a unique way is a big piece of my heart and I'm so grateful to be back (hopefully for much longer). Well much has happened! Lots of growth, changes, challenges, but oh so many triumphs. The ones that humble you and remind you that God is working ever so sweetly in your life to make you better. 

As you can see the boys have grown! And their personalities are something for short stories and live television for sure...especially Titus. They are so much fun, so much that we are having our THIRD BOY in February! Yes, you read that right...our THIRD BOY ha! I can't say that Mike and I weren't hoping for a girl (so much he thinks we should try one more time...), but my heart truly is at peace and full of excitement. 

We had the opportunity recently to do a family photo session with one of my absolute favorite photographers and close friend from Uplifted Photography! I cannot even describe how I feel looking at our family in this new season. Thank you as always Bri for capturing us so perfectly, and sweet baby boy before his arrival!


Tuesday, September 27, 2016

Motherhood: Apple Picking Field Trips


Out of the almost dozen photos we took, he still didn't look at the camera! I adored the time I got to take and spend it Apple Picking with Kai and his class this week. The weather wasn't fantastic, it was quite cold actually...but there is nothing like having your child be proud of your presence. These are the moments that remind me that I made the right decision in focusing on my family more than my career or hopes for a certain financial status. 

It's a breath of fresh air to do this with him...by no means is it easy. Many days I wonder if I'm doing the best thing for the boys in this season right now. Then I look at this photo


...and I'm reminded yes. A complete and peaceful yes to moments like this. The rest will fall into place, but I only get this once in my lifetime.


Monday, September 19, 2016

Weekend Adventures: Sunflower Farm

There is something so sweet about new experiences with your kids. This weekend we took advantage of visiting a Sunflower Farm! I mean it truly was a sight to see, even though it was the very last day of the season. Kai was incredibly intrigued by the open fields, bubble wands, and huge bouncing pad on the grounds. Titus didn't hesitate to explore as well, trying to keep up with big brother. Both boys fell right to sleep on our way home, which made for an awesome nap time! I really enjoyed the time together and fun fact, Mike's favorite flower is the sunflower. This was a special treat for all of us, as I didn't even know where the seeds are in the sunflower along with how beautiful a farm could be. After clipping our flowers and finding some local honey at checkout, I have to say this may become a tradition for us before fall begins!


Wednesday, October 8, 2014

The Pumpkin Patch


Earlier this week I had the privilege of chaperoning my FIRST field trip! These are things I think all parents get excited about honestly. Just being able to enjoy watching Kai and his classmates as well as him experience something new - couldn't have asked for anything better. We went to Belvedere Plantation and had a blast. Any time I can actively watch and see how Kai soaks in new experiences is always a win/win for me (even when he melts down with ten other toddlers for a nap time...).

I was able to sneak in a few pictures before I made sure to put my phone away and just be in the moment with him. Tis the season for pumpkins! Have you and your littles ventured out yet?


Friday, October 18, 2013

Fall Recipe: Pumpkin Sheet Cake

Happy Friday! I promise I won't over do it with the pumpkin recipes, but this one you have to try...seriously. Or at least keep this in your back pocket when you get invited unexpectedly to a gathering this season (then you can thank this post later). Before you know it Thanksgiving will be here and if you're anything like me, I always end up saying yes at the last minute (drives my hubs crazy). So thanks to my wonderful sister, this recipe works perfectly for last minute plans.

As always a brief picture tutorial so you know what to do!

 
The process...in so many words
 

This cake is not super sweet, very moist and its hard to not eat just one piece. Its really good and so SIMPLE to make! I highly suggest giving some of this to your friends and family, it makes a very large cake.
xo,
 Steph

Cinnamon Roll Pumpkin Vanilla Sheet Cake
adapted from Picky Palate
Ingredients
1 box yellow cake mix
4 eggs
1/2 cup canola or vegetable oil
1/2 cup milk (I used whole milk)
3.4 ounce box Vanilla Instant Pudding Mix
1/2 cup sour cream
15 ounce can pumpkin (not pumpkin pie filling)
1 stick (8 tablespoons) unsalted butter
3/4 cup packed light brown sugar
1/2 teaspoon ground cinnamon
1 1/2 cups powdered sugar
1/4-1/2 cup heavy cream (start w 1/4 cup and add a little more cream if needed)

1. Preheat oven to 350 degrees F. and spray a jelly roll 12 x 18 pan with non stick cooking spray.
2. Place cake mix, eggs, oil, milk, pudding, sour cream and pumpkin into a stand or electric mixer, beating until well combined, about 1 1/2 minutes. Pour into prepared pan, spreading evenly.
3. Place butter into a microwave safe bowl and melt, about 30-40 seconds. Add brown sugar and cinnamon to bowl, mixing until combined. Drizzle mixture evenly over cake then take a knife and run it through to swirl.
4. Bake cake for 30-35 minutes, until cooked through and remove. Place powdered sugar and cream into a large bowl and whisk until creamy and smooth. Drizzle over warm cake then let cool for 20 minutes before cutting into squares. Refrigerate if not serving same day.
Makes 16 to 20 squares

Monday, October 7, 2013

Fall Recipes: Apple Butter


I figured it would be only fitting to sprinkle in some recipes from my amazing sister, Stephanie. I'm not much of a baker, however, I sure do love to test taste her food as well as eat in general (I know I'm not the only one). So I asked her if she could share various recipes for the season! When I tell you that this apple butter is to die for...I'm serious (I once...just kidding).

Apple Butter
adapted from Caroline B.
This recipe makes roughly 40 ounces of apple butter. So you can make 5 small 8-ounce jars (great as gifts or house warming presents), or a couple large sized jars, it’s up to you.

4 pounds of apples, peeled and cut into bite sized chunks (you can use any type of flavorful apple)
Roughly 1/2 gallon of apple cider
2 cups of sugar (use roughly 1/2 cup per pound of fruit)
1 1/2 tsp. cinnamon
1/2 tsp. nutmeg
Juice of one lemon

  Now its time to show you how easy this is to make (picture tutorial):


 Start by peeling, coring and chopping up your apples

Place your apples in a large deep stainless steel pot (or a pot that’s non-reactive). You want enough room for your apples to boil.

Pour about 1/2 gallon of apple cider over your apples just enough to cover them. Let them boil for 20-30 minutes until tender.

Once your apples are nice and tender. Remove from heat and spoon your apples into a food processor or blender and puree them. Adding a little cider liquid helps too. Make sure to put the puree in a large bowl and reserve the apple cider in a cup in case you need to thin your mixture out.

Once your done pureeing your apples you should have what looks like thin applesauce. Transfer your applesauce back into the pot and if it looks kind of thick add more cider to it, but don’t dump all the cider back into the pot or you will end up with apple juice. Discard the rest of the apple cider you don’t use.

 Bring puree to a boil on med-med low heat about 225 degrees (a candy thermometer helps). Add 2 cups of sugar or to taste, spices, and juice from 1 lemon. Stir mixture until well blended. Turn the heat down a bit and let your puree simmer for 2-3 hours (longer if you want super thick butter) stirring occasionally.

After a few hours your apple butter should darken and become nice and thick. It will cook down a bit, so don’t freak. At this point your butter should be making plopping sounds and splatters a bit. If your butter slowly comes off the spoon  and looks nice and thick, then its ready to put in jars.


You wan to use “Self-Sealing” jars to ensure that your apple butter will stay fresh for up to 6 months. You can find these at your local grocery store in the produce section. They come in many different sizes and are very easy to use. Many grocery stores even sell the canning kits that come in handy when handling a really hot jar. Be sure to wash all your jars with hot soapy water, let dry on a clean towel, before using.

Remove your apple butter from the heat. Using a large-mouth funnel spoon your apple butter into each jar leaving 1/4″ of space at the top. Cover and seal each jar. Do not close them super tight, just tight enough to not let any water get in.

To seal your jars, in a large deep pot of boiling water place jars inside making sure water covers the top of the jars. Cover the pot and boil jars for 10 minutes. Remove jars with canning tongs, wipe off any excess water and place jar on a cooling rack. Repeat process with remaining jars.


Let apple butter cool to room temperature. This can take up to 12 hours. You should hear some of the tops on your jars making a “popping sound” meaning they are sealing correctly. Once cooled, place jars in the fridge (this helps your butter become even thicker). You can store apple butter in the fridge for up to 6 months, if they are sealed correctly.

I hope this helps some of you that I know wanted to try and make this but were really apprehensive about the process. Trust me its a little time consuming, but very easy and the end results are fantastic. I recommend doing this with someone to speed things up, especially the apple peeling and chopping part.

Directions (if you're not in to pictures):

Prepare the jars: Heat oven to 225 and place jars (but not lids) on the baking racks. Jars will need to stay in the oven for at least 20 minutes. Wash the lids with hot water and let them dry completely on a clean towel.

Make the apple butter: In a big, heavy pot over medium/med-high heat add the apples and enough apple cider to just cover the apples. Bring to a simmer. A bit of a foam will form, you want to skim that off a couple of times (don’t obsess). Cook the apples until they are tender throughout, roughly 20-30 minutes. Take the apples off the heat, let them cool for a couple minutes, and then puree in a blender or food processor, in small batches (don’t fill the blender over half full with the hot liquid or you will have a mess). The puree should be the consistency of a thin applesauce. If it seems a little thick add more hot liquid. Discard any reserved hot liquid that you don’t use.
Put the puree back in the big pot over medium heat. Bring puree to a simmer (you need it to hit 220F on a candy thermometer). Then, while stirring, slowly sprinkle in the sugar, cinnamon, nutmeg, and lemon juice. Continue to simmer over medium/med-low heat. It takes quite a while from this point until the apple butter reduces and really thickens up, anywhere from 1 to 2 or 3 hours (try to keep it around 220F). Make sure you stir regularly, you don’t want it to burn or cook to the bottom of the pot. You are looking for the apple butter to thicken up and darken. Towards the end it gets a bit messy, the simmer becoming more lava-like – it also sounds different, lots of plop and slop noises and lots of spattering coming from the pot. Remove from heat.
Fill your your biggest, deepest pot with water and bring to a rolling boil. The water level will need to cover the jars.

Fill the jars: Using tongs carefully remove each jar from the oven and fill to within 1/4 inch of the top with the apple puree. Wipe off rims with a clean dry paper towel. Place a dry lid on each jar and close tightly. Using tongs place each of the jars in the boiling water and boil for 10 minutes.

Enjoy!